Getting started
How do you get started?
To get started you will need some HTML/CSS and maybe an image or two to get you started, i have provided for you a zip folder with some VERY BASIC code.
Use this as a springboard to go an make your own site!
For more information on how to create site see the associated links in the next section.
How do I get started coding?
Roadmap.sh is a really good place to get started click Here to view the Front End roadmap
Another great site to get some free learning from is w3schools , it give lots of breakdowns in HTML CSS JS and more
See below a selection of links to Youtube Playlists
Getting Started with AWS!
How do you get started?
First things first, you need to create an S3 bucket
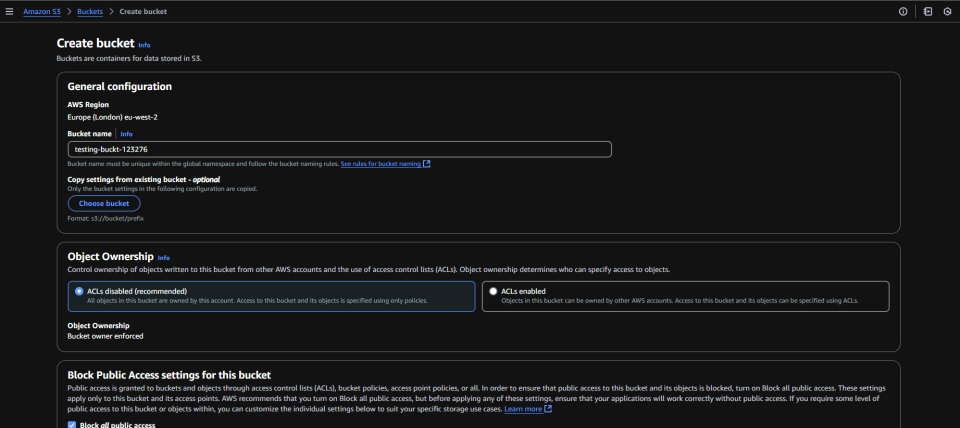
Now, S3 is tied to the region, so I highly recommend that you select North Virginia as your region, as it is the cheapest and all services are available in it. While it is a regional service, the name needs to be globally unique. See details for it here.
When creating this bucket, you do not need to change anything except the name.
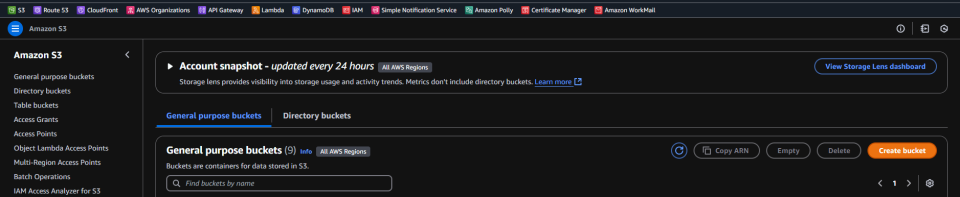
So, log in to your console and navigate your way to the S3 console, then select the Create Bucket button.
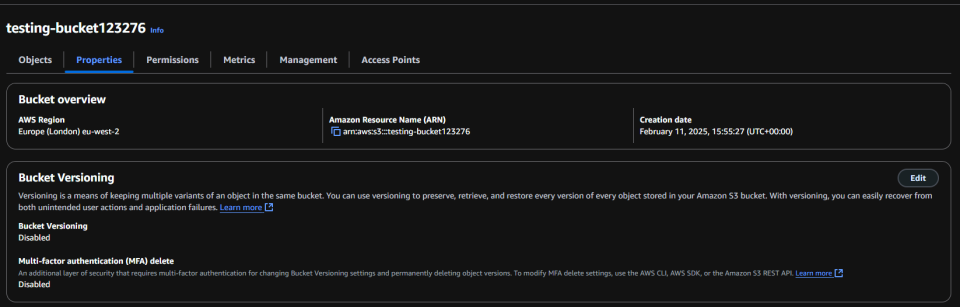
Later, if you wish to turn on Versioning for your bucket (recommended), head to the Properties tab and enable it. This is also where you can enable deletion protections.
See The Image Gallery For Details

Adding Your Files

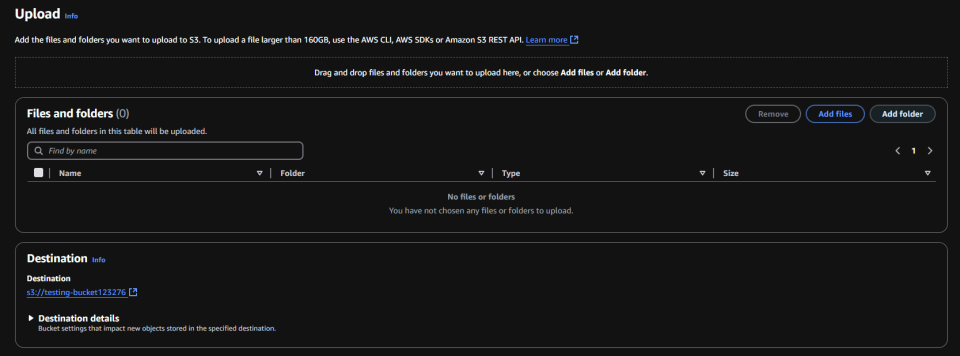
Next, we need to upload our files
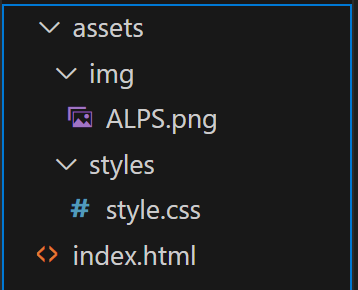
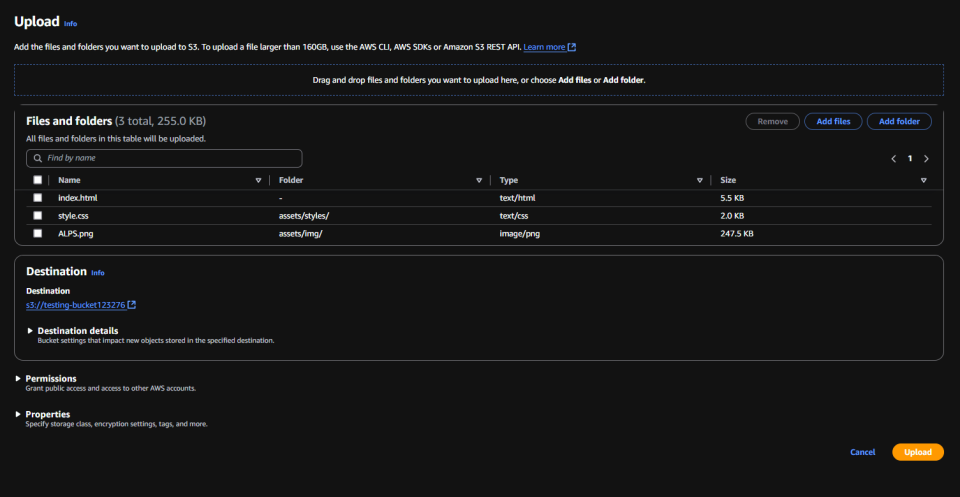
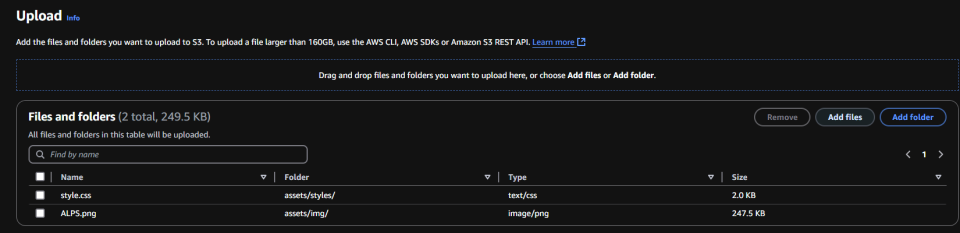
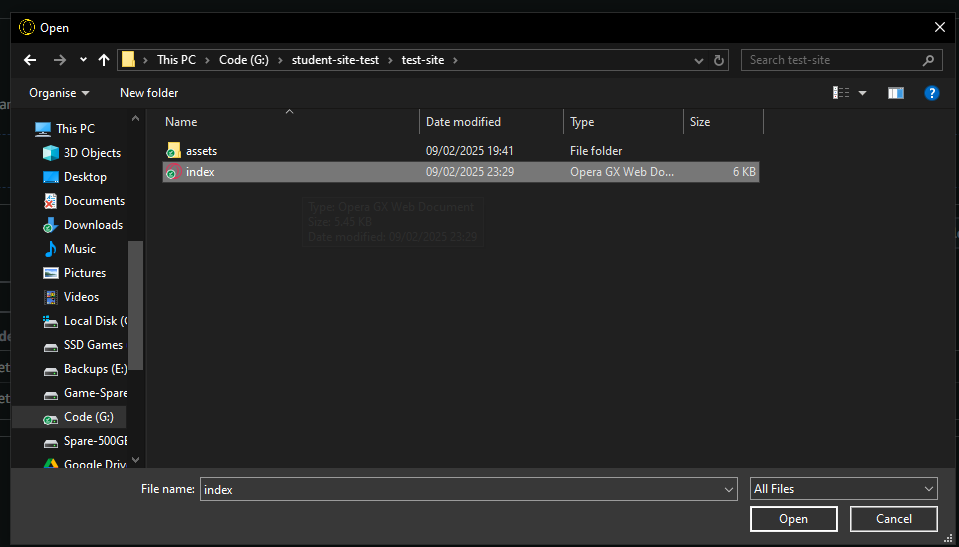
To start uploading, select your bucket name from the menu and then click the (⬆ upload) button. When uploading, be sure to keep the same file structure, as it will affect the way the HTML works. The easiest way to do this is to upload the assets folder first using the Add Folder option, then add the index.html document with the Add File button afterwards.
You will see that the styles.css and ALPS.png files have assets/css or img, respectively, meaning it will create that file structure for you. Then, all you need to do is click the Upload button.
Creating your CloudFront Distribution
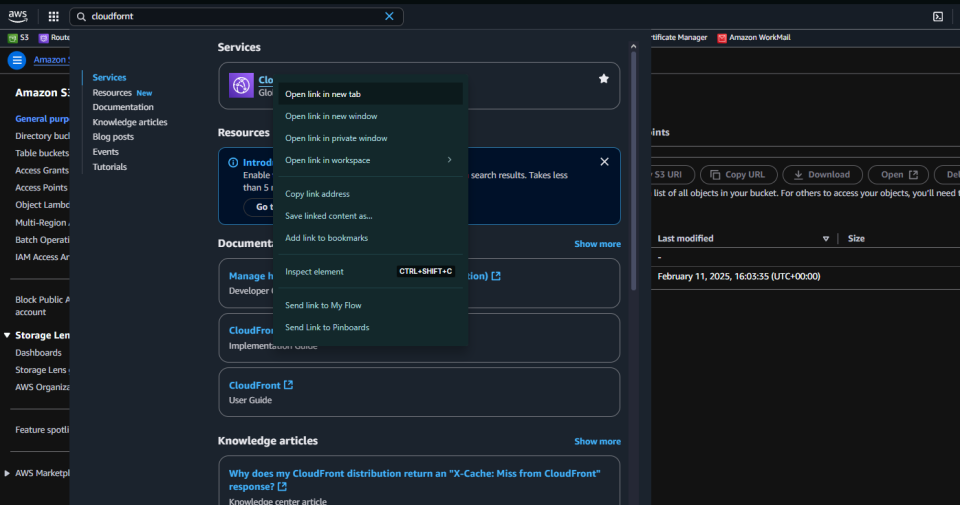
In your console, navigate to the search bar and search for CloudFront. Right-click the CloudFront link and select Open in a New Tab—this will be important later.
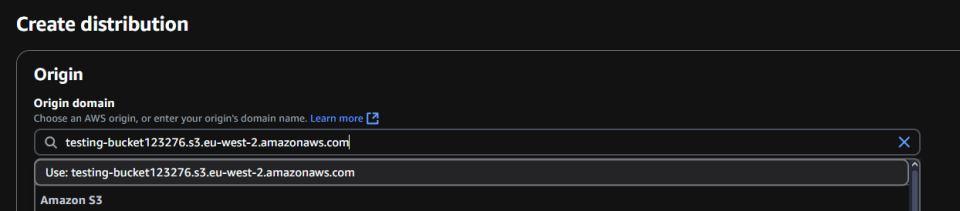
In CloudFront, select Create Distribution, and in the Origin Domain, select the S3 bucket you uploaded your files to.
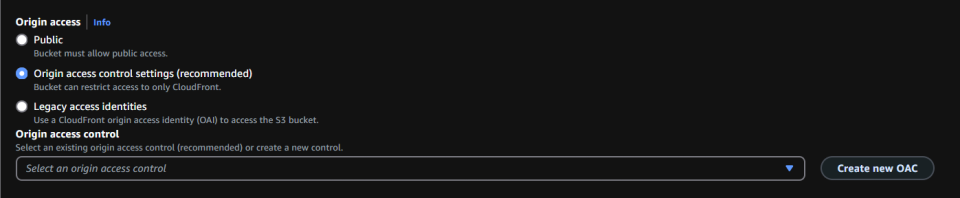
Next, go to Origin Access and select the recommended Origin Access Control Settings, then create a new one.
In the Create OAC section, keep everything the same and just click Create.
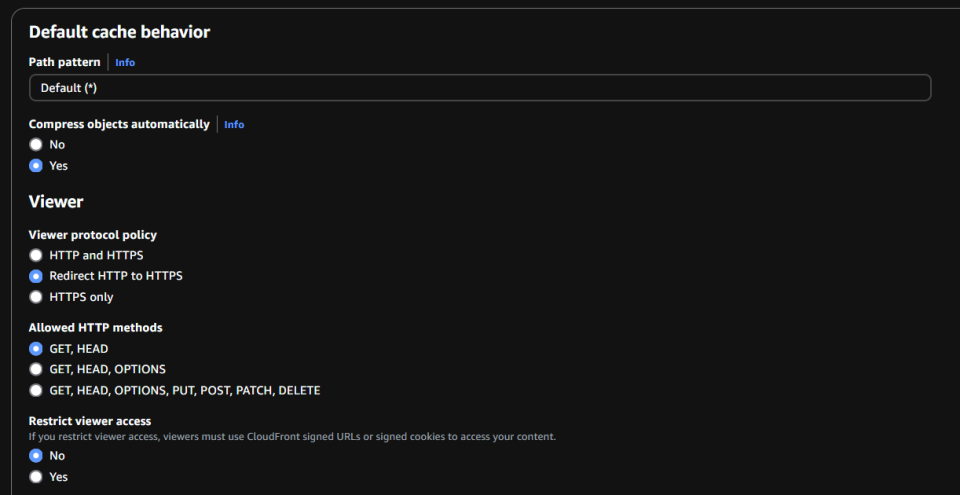
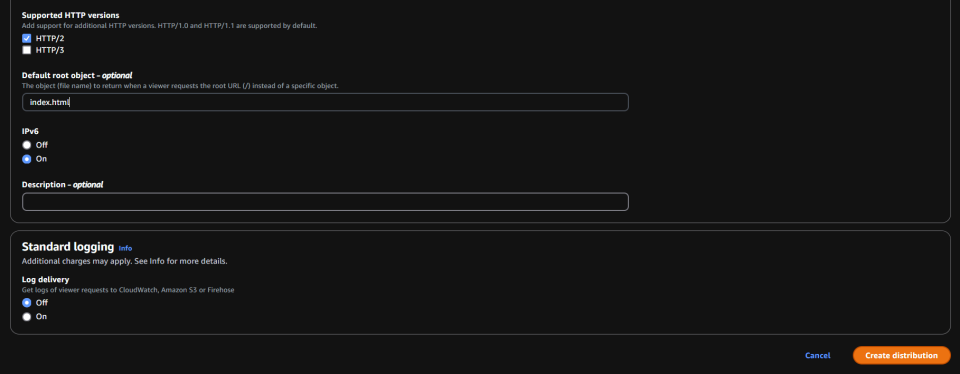
In the Default Cache Behavior section, under Viewer Protocol Policy, select Redirect HTTP to HTTPS.
In the Web Application Firewall section, do not enable security protections.
Finally, set your Default Root Object to index.html (or your homepage).
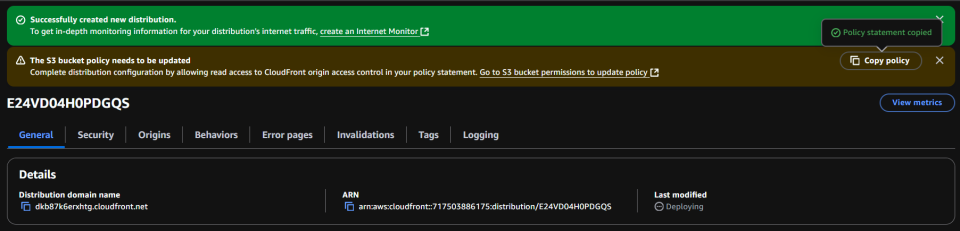
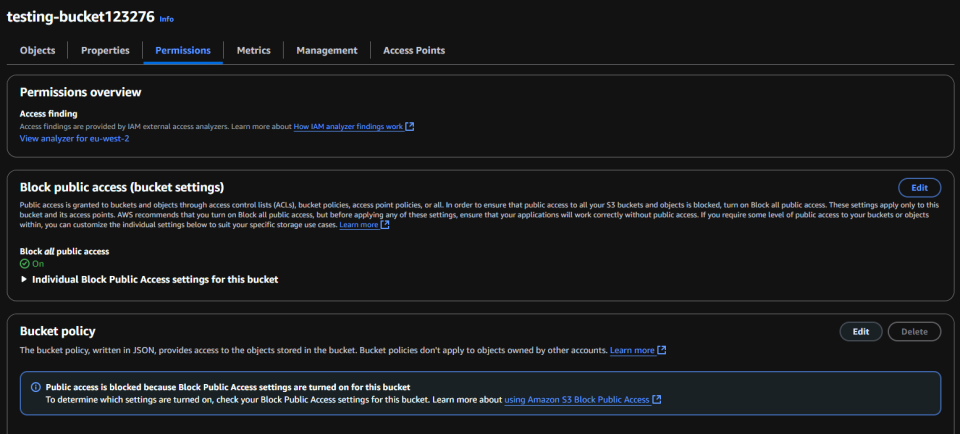
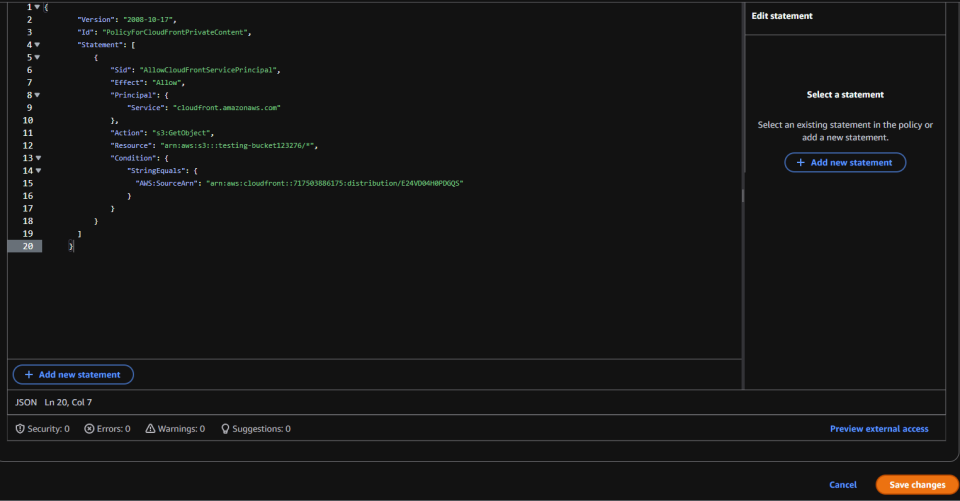
Now that you have created the distribution, all you need to do is copy the S3 policy from the popup, navigate back to the S3 tab, and select the Permissions tab. At the bottom, click the Edit button. In the blank policy field, simply paste the copied JSON and select Save Settings.
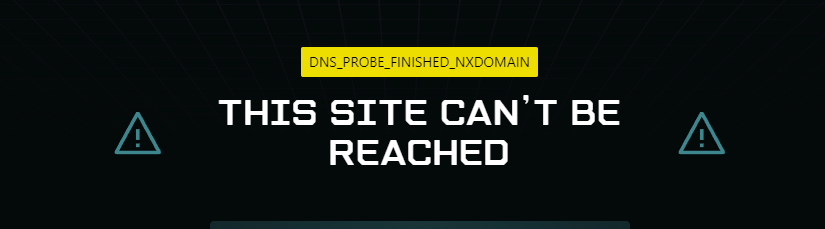
To get your URL, go back to your CloudFront Distribution tab and copy your Distribution Domain Name. Paste that into your browser and wait. If you see This site cannot be reached, double-check that CloudFront has finished deploying. For any other issues, please post in the Need Help section of the Discord.
How do you get started with Cloudfront?


To Update Your Site You Need To Clear The Cache

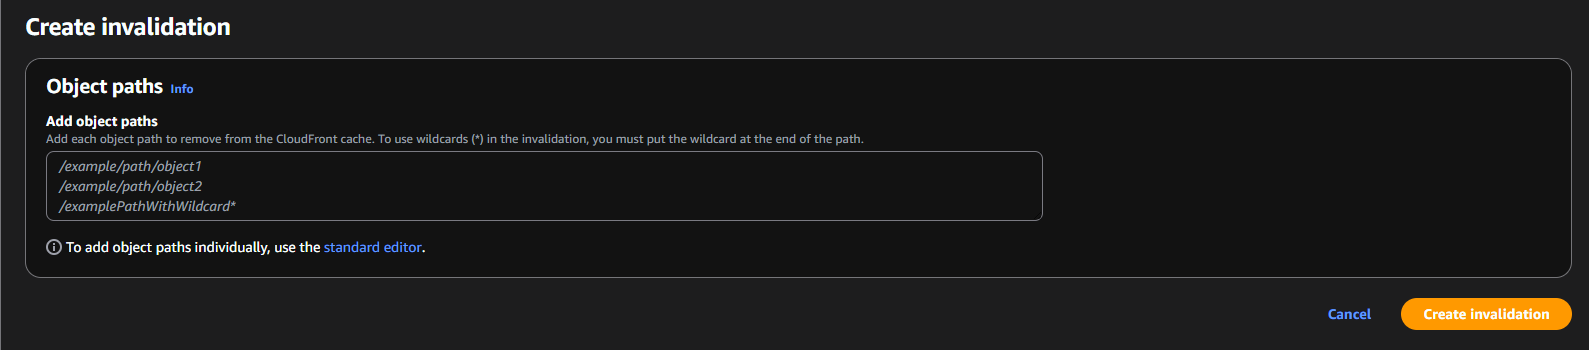
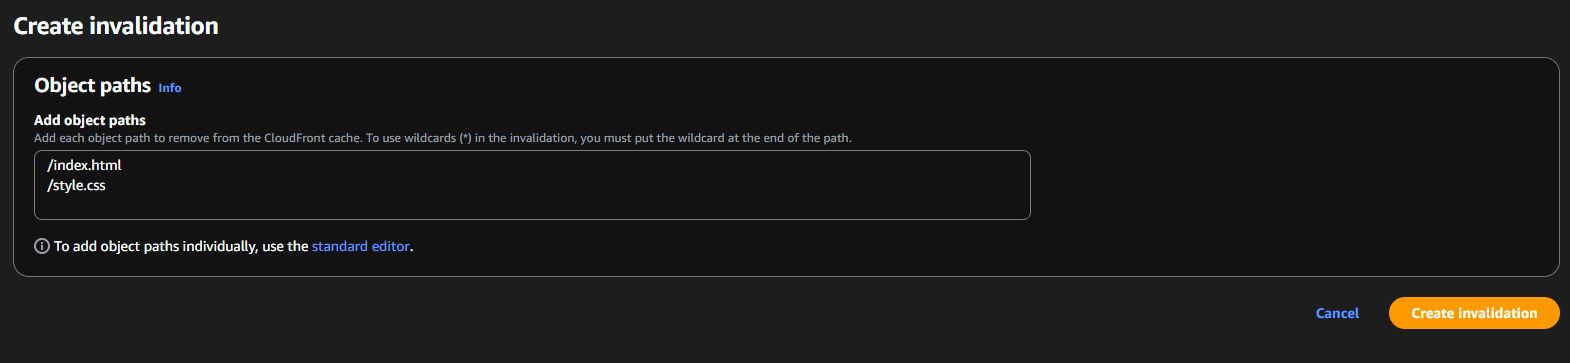
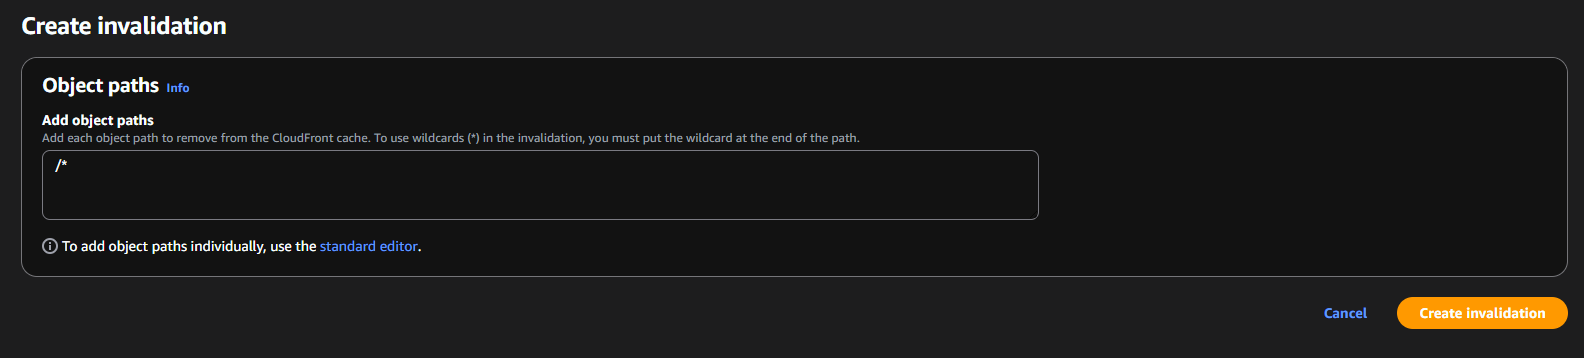

Cloundfront Invalidations
Starting off you need to go back to your Distribution in cloudfront, in there there is a tab called Invalidations where you can clear or invalidate the cache, so that when changes are made to files you can display them
Clicking create invalidation take you to where you define what you wish to invalidate, and if you see the examples it gives you an idea of what to put in there for instance if you wish to target specific file like the index or style sheet you can juts input the path to that file or alternatively you can clear the cache of entire folders by doing /{folder name}/* the /* is the important part here as it acts as a the *Wild card* meaning everything.